
A puncture on an Etosha self-drive is a safety problem before it is a tyre problem. Slow down smoothly, move only as far as needed for a safe stop and keep the group aware of wildlife, traffic and the rental company’s procedure.
Inside a national park, leaving the vehicle may be restricted and dangerous. Follow park instructions and contact staff or the rental company when a wheel change cannot be completed safely and legally.
Stop without causing more damage
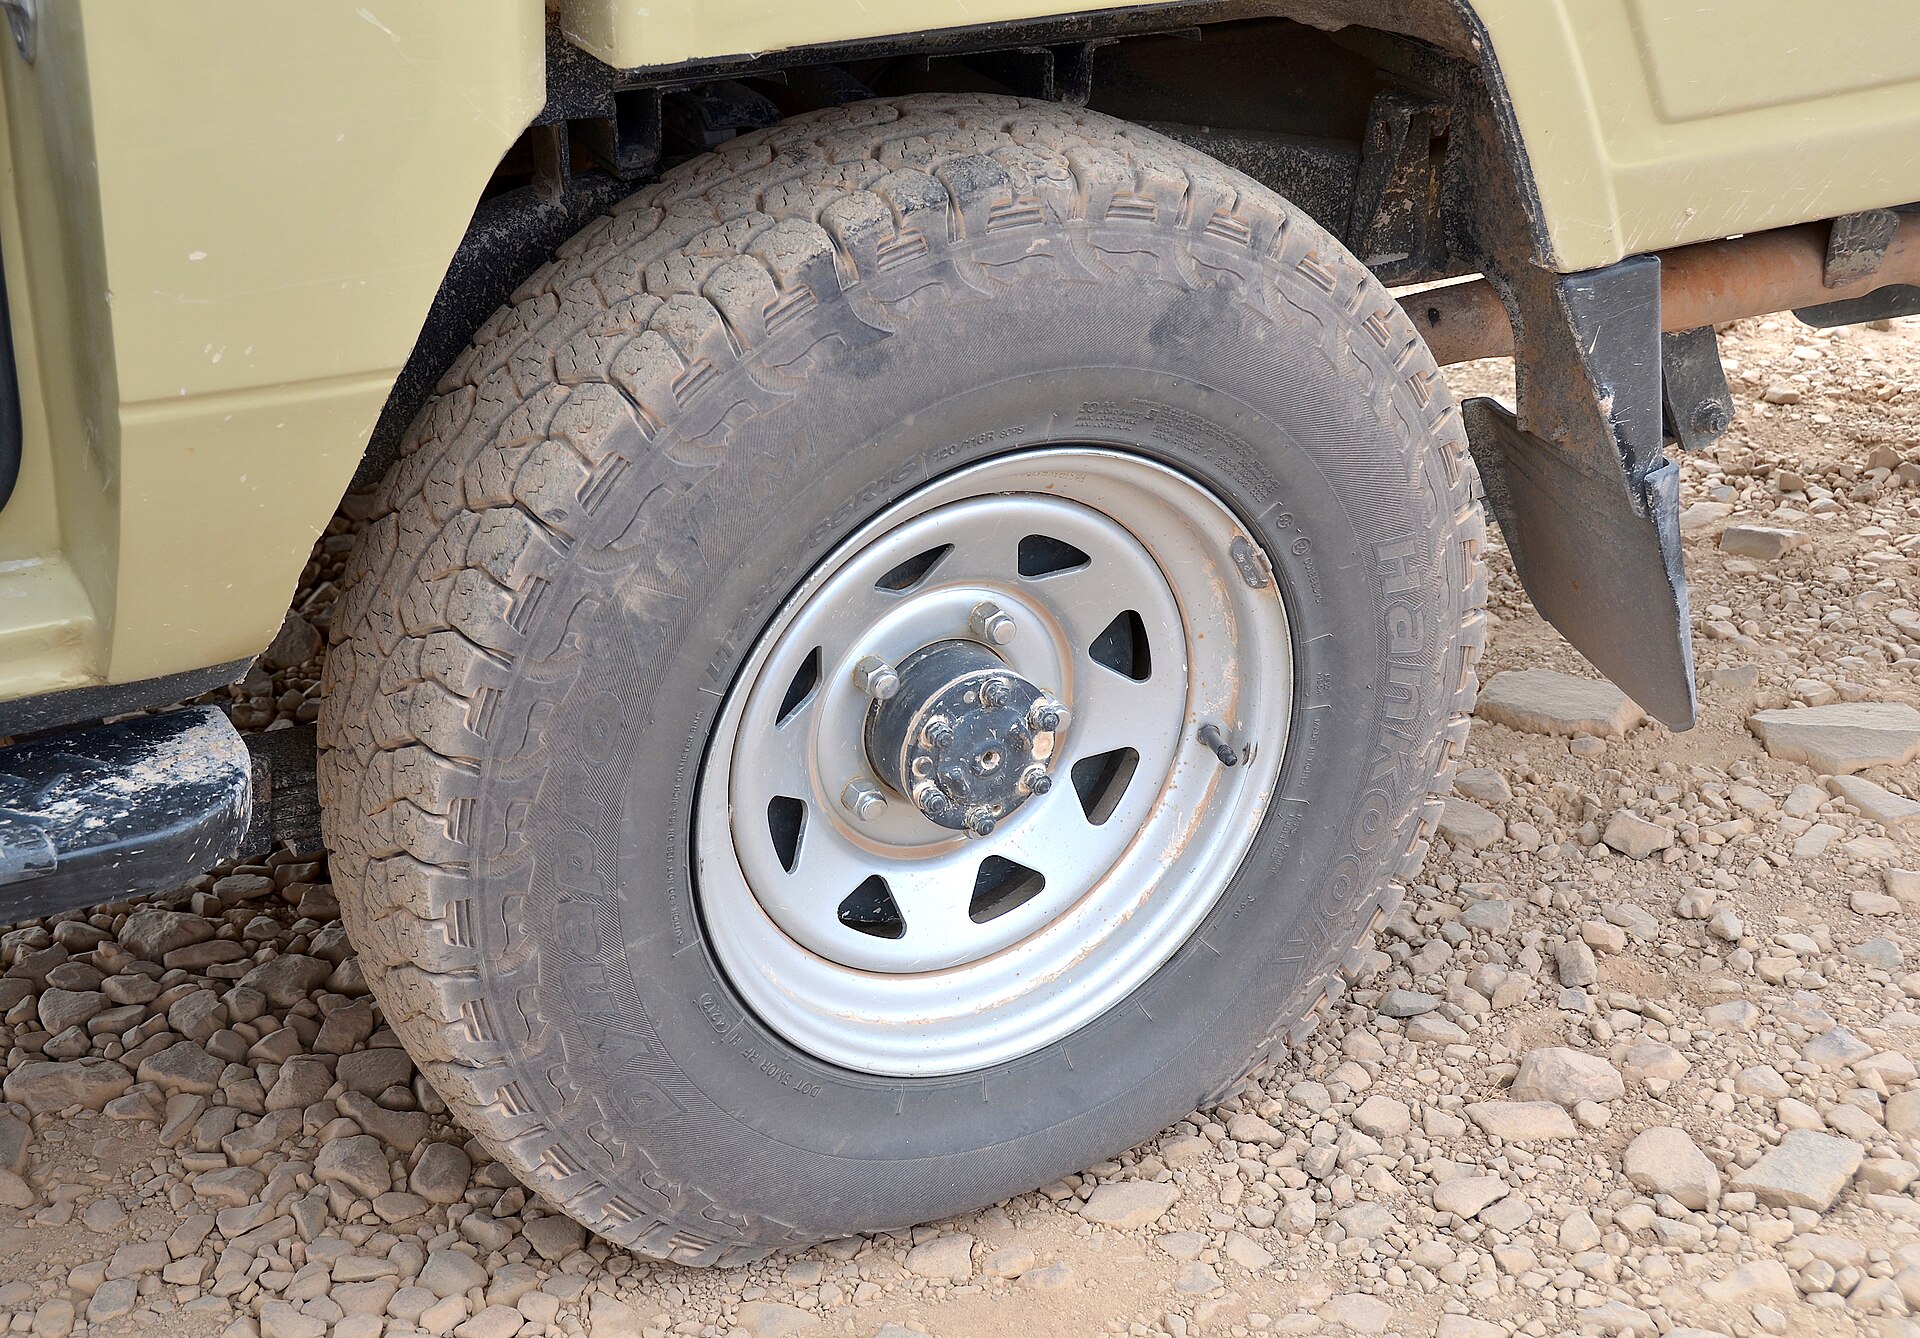
A sudden vibration, pulling sensation or pressure warning deserves an immediate controlled response. Do not brake sharply. Reduce speed, choose the firmest visible edge that does not block traffic and switch on hazard lights.
- Keep passengers together and calm.
- Assess the surroundings before any door opens.
- Do not drive far on a deflated tyre.
- Use a warning triangle only when it can be placed safely and legally.
A puncture inside Etosha needs park awareness
Wild animals may be difficult to see in grass, bush or darkness. If current park rules require occupants to remain in the vehicle, do not improvise a roadside repair. Call the relevant camp, gate or emergency contact and explain the location as accurately as possible.
Save offline map references and note the last signed junction or named waterhole. Mobile coverage can be unreliable, so another visitor may need to relay a message without transporting strangers or creating a second hazard.
Follow the rental agreement
Some rental companies require approval before a tyre is replaced or repaired. Photograph the damage and odometer when safe, keep receipts and do not fit an unsuitable tyre simply to continue. The written agreement decides who pays and which supplier is authorised.
current Namibia road-safety guidance stresses the risks of long distances and driving conditions. Use it as broad preparation and confirm Namibia-specific instructions with the rental company.
Change the wheel only when conditions allow
- Confirm that stopping and leaving the vehicle are permitted and safe.
- Apply the parking brake and use the correct wheel restraint.
- Place the jack only at the manufacturer’s jacking point on firm ground.
- Loosen and tighten nuts in the correct sequence.
- Check the spare pressure and drive conservatively to professional help.
A soft shoulder, unstable jack or nearby wildlife is enough reason not to proceed. Assistance takes longer than a rushed injury or damaged vehicle, but it remains the safer choice.
Prevent the second puncture
| Before departure | Check |
|---|---|
| Spare wheel | Correct pressure, tread and tool access |
| Jack and tools | Present, compatible and tested |
| Tyres | Sidewalls, tread and pressure when cold |
| Communication | Rental, insurance and park numbers saved |
| Supplies | Water, shade, medication and charged power bank |
After fitting a spare, avoid assuming the trip is repaired. Replace or repair the damaged tyre at the first suitable opportunity so the vehicle is not left without a usable spare.
Check the repaired vehicle before the next gate
After professional repair, inspect pressure, wheel-nut guidance and the condition of the spare before returning to remote roads. A receipt is not a mechanical check. Use the pre-Etosha tyre checklist and the rental-car inspection guide so the second problem is not caused by a rushed handover.
Puncture on an Etosha self-drive: a safe response card
A puncture on an Etosha self-drive becomes easier to manage when the response is agreed before departure. Put the rental company’s emergency number, vehicle registration and tyre details on paper as well as in your phone. Keep the jack, wheel spanner, reflective triangle, compressor and pressure gauge where luggage will not trap them.
Use this order after the tyre loses pressure
- Slow down smoothly and stop as far from traffic as the road and park rules safely allow.
- Keep everyone inside the vehicle and assess wildlife, ground stability and passing traffic.
- Switch on hazard lights and contact the rental company or park staff when coverage permits.
- Follow the provider’s instructions; changing a tyre may not be safe or permitted in every location.
- If instructed to proceed, drive only at the advised speed and distance.
- Record the location, time and visible damage for the rental report.
- Repair or replace the spare before continuing into another remote section.
Never let a puncture on an Etosha self-drive tempt passengers to walk for help. Do not crawl under the vehicle, and do not attempt a roadside repair while animals are nearby. A warning triangle is useful only when placing it does not create a greater risk.
Prevent the second puncture
After a puncture on an Etosha self-drive, treat the remaining spare as critical equipment. Check its pressure, remove unnecessary detours and choose the nearest suitable assistance rather than continuing the original loop. Photograph the damaged tyre from several angles without admitting liability or discarding it.
A daily pressure check, conservative speed and attention to sharp stones reduce risk, but no route is puncture-proof. Planning for a puncture on an Etosha self-drive is therefore part of route planning, not a sign of poor preparation. With a written response card, a puncture on an Etosha self-drive can remain a controlled delay instead of becoming an unsafe improvisation.
puncture on an Etosha self-drive: practical questions
Should tyre pressure be lowered on Etosha roads?
Use the vehicle and rental company’s approved pressures; do not copy another driver’s setting.
Can travellers change a tyre inside the park?
Only when current park rules and conditions allow it safely. Contact staff when in doubt.
Is a space-saver spare enough?
Confirm suitability, limits and availability with the rental provider before accepting the vehicle.
A puncture on an Etosha self-drive is manageable when the spare, tools and contacts were checked in advance. Stop calmly, respect park rules and treat the temporary wheel as a route to professional help.
puncture on an Etosha self-drive summary: puncture on an Etosha self-drive becomes easier to plan when current rules, realistic distances and responsible wildlife behaviour guide each decision.