
An Etosha safari camera lens has to do several jobs from one vehicle seat: frame a distant jackal, capture an elephant that suddenly fills the view, and remain manageable through a long, dusty day. If you want to travel with only one lens, the best choice is usually a versatile telephoto zoom rather than the longest lens you can afford.
This guide helps you choose a practical focal-length range for Etosha, explains the trade-offs between reach and flexibility, and gives you a simple setup that works for both wildlife and wider environmental photographs.
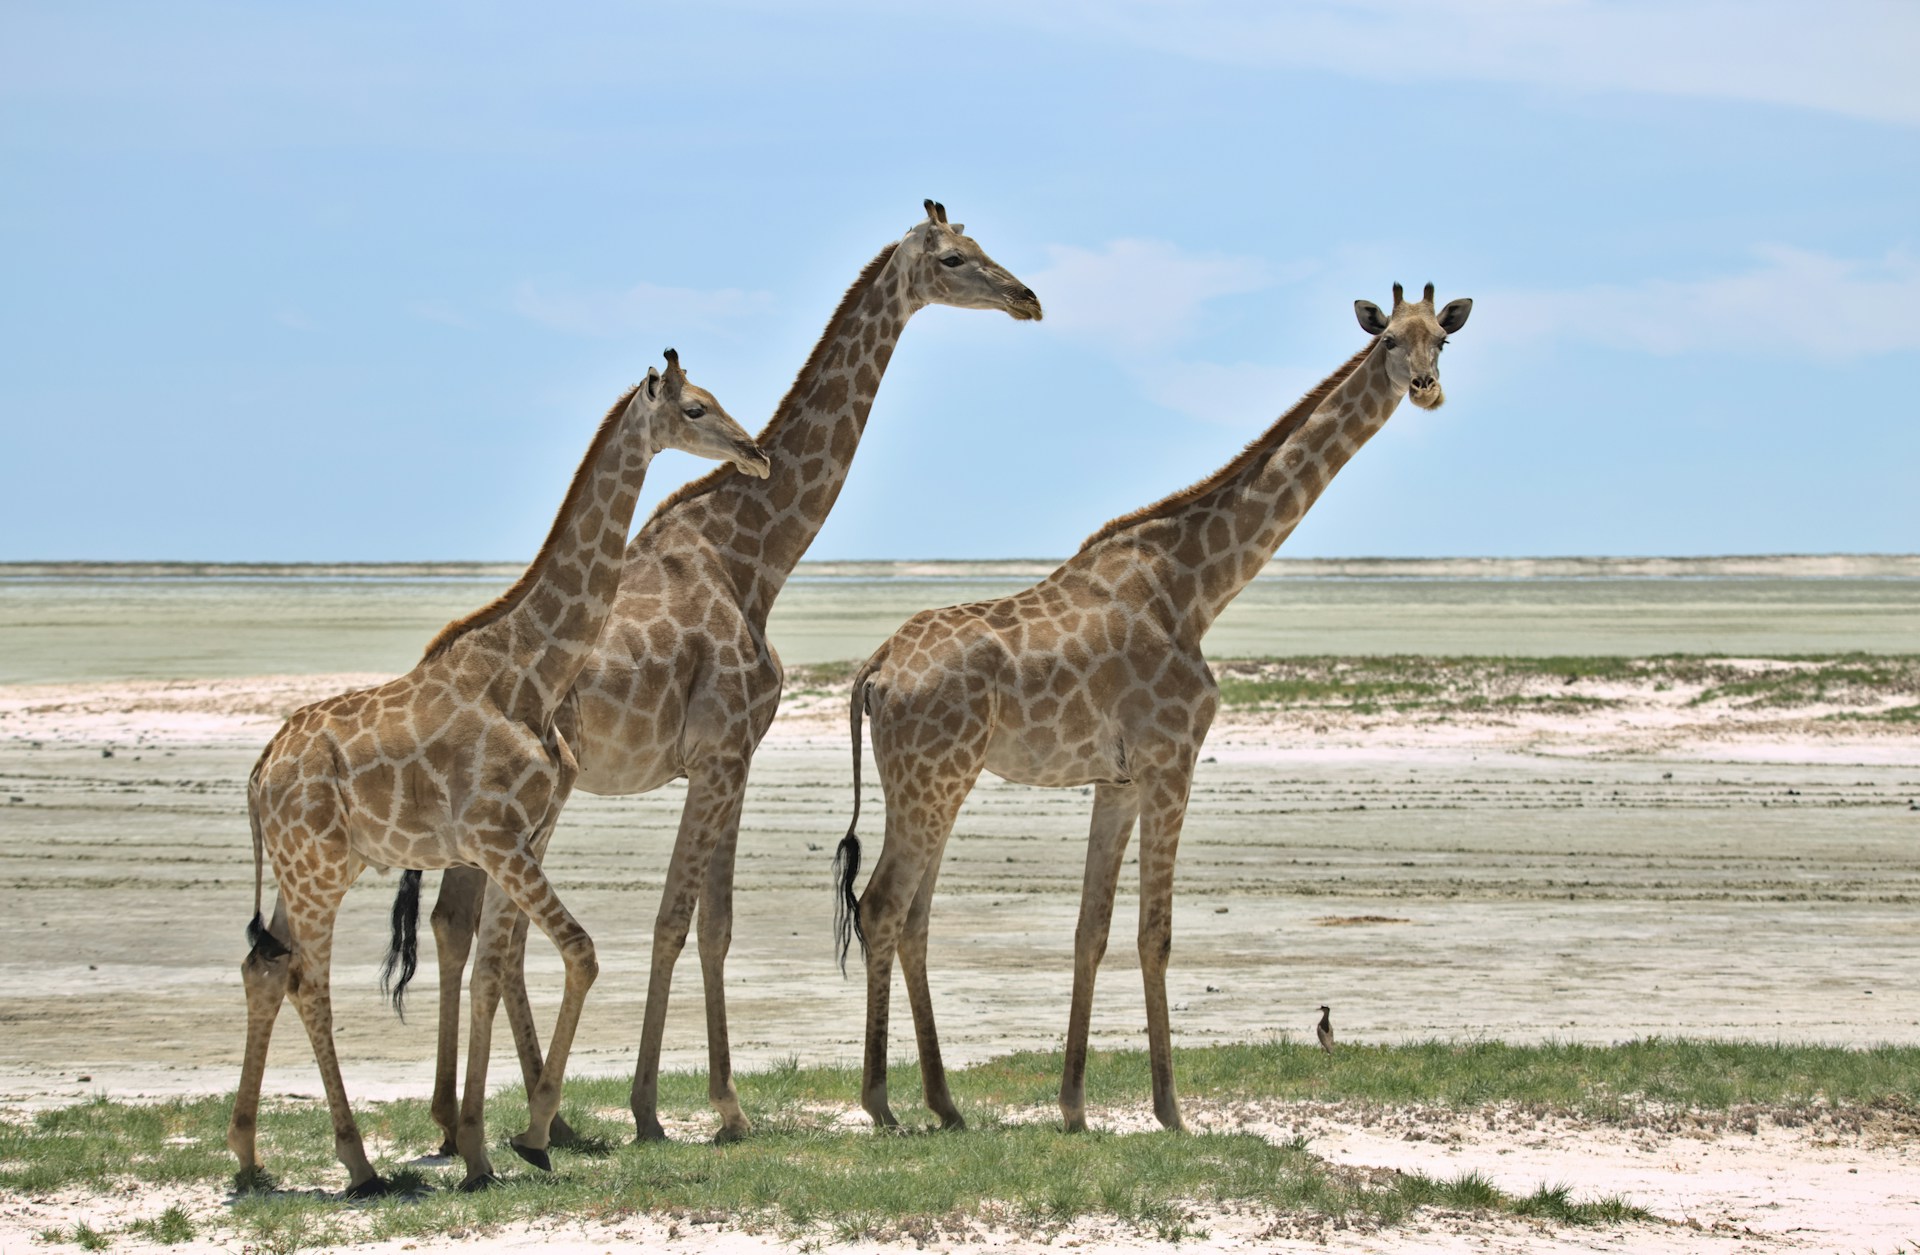
Quick recommendation
For most travellers using an interchangeable-lens camera, start with a zoom that reaches roughly 300–400mm at the long end while still allowing a wider frame. On a full-frame camera, ranges such as 100–400mm or 100–500mm are versatile. On an APS-C or Micro Four Thirds body, a shorter physical focal length can provide a similar field of view because of the crop factor.
The one-lens decision: reach or flexibility?
Etosha often rewards reach. Animals may stand across an open plain or approach a waterhole on the far side. Birds can be small and restless. Yet maximum magnification is only half the problem. Elephants, giraffes and zebra sometimes pass close to the vehicle, and a fixed super-telephoto can become too tight just when the scene becomes most interesting.
A telephoto zoom is therefore the safest single-lens compromise. It lets you pull back for a herd, zoom in for behaviour and adjust without opening the camera body in dust. The ideal Etosha safari camera lens is the one you can lift quickly, support comfortably and use accurately for several hours.
How sensor size changes the recommendation
Lens labels show actual focal length, but the field of view depends on the camera sensor. A 300mm lens on many APS-C cameras frames more tightly than 300mm on full frame. Micro Four Thirds cameras create an even narrower field of view. This can be useful for wildlife, but it also makes camera shake and framing errors more noticeable.
| Camera type | Useful one-lens range | Why it works |
|---|---|---|
| Full frame | About 100–400mm or 100–500mm | Good balance of wider herd scenes and distant wildlife |
| APS-C | About 70–300mm or 100–400mm | Crop factor adds apparent reach; check the wide end |
| Micro Four Thirds | About 40–150mm or 100–300mm | Compact system with strong reach for its physical size |
| Bridge camera | Built-in superzoom | No lens changes and a broad range in one body |
These are starting points, not rules. Compare equivalent field of view, aperture, stabilisation, weight and close-focus ability before buying or renting.
Why a 70–200mm can be too short
A 70–200mm lens is sharp, fast and excellent for larger animals at moderate distance. It can also be a good choice on a crop-sensor body. On full frame, however, 200mm often leaves small subjects or distant behaviour occupying only a small part of the image. Heavy cropping then reduces detail and makes heat shimmer more obvious.
As an Etosha safari camera lens, a 70–200mm makes most sense when portability and close large-animal encounters matter more than small distant subjects.
If a 70–200mm is what you already own, use it. Concentrate on animals within sensible range, include more habitat and avoid treating every photograph as a close portrait. The open Etosha landscape is part of the story.
Is 600mm worth the weight?
A zoom reaching 500mm or 600mm can be valuable for birds, distant predators and small mammals. The trade-offs are size, cost, slower handling and a narrow field of view. From a vehicle window, a large lens may also be awkward when other passengers need space.
Before choosing this kind of Etosha safari camera lens, practise lifting, tracking and zooming from a seated position.
Choose that reach when bird photography is a priority or you already know how to acquire a moving subject at long focal lengths. Otherwise, a lighter 100–400mm-class Etosha safari camera lens may produce more keepers because it is ready sooner and easier to stabilise.
Make photography easier with a well-paced safari
A flexible lens works best when the itinerary leaves time to wait and reposition responsibly. Compare guided Etosha game drives if you would value local wildlife knowledge while concentrating on camera settings, or choose accommodation near the sector you most want to photograph.
Aperture, stabilisation and autofocus
Do you need a fast aperture?
Lenses with wide maximum apertures gather more light and can separate a subject from the background, but they are heavier and more expensive. Etosha’s bright daytime light often allows smaller-aperture zooms to work well. Early mornings, shade and moving animals still require careful shutter-speed and ISO choices.
Image stabilisation helps, but it does not stop motion
Optical or in-body stabilisation reduces blur from your movement. It cannot freeze a running animal or a bird’s wing. For active wildlife, prioritise an adequately fast shutter speed and raise ISO when necessary. A sharp, slightly noisy photograph is generally more useful than a clean but blurred one.
Autofocus must be familiar
Animal-detection autofocus can help, but branches, dust and other vehicles may confuse it. Practise switching between tracking, a small focus area and single-point focus before the trip. A modest lens you know is more reliable than unfamiliar professional equipment.
Using one lens from a safari vehicle
- Clean the window and lens hood. Fine dust reduces contrast and becomes obvious in backlight.
- Support the lens safely. Use a beanbag on a stationary vehicle edge if permitted, or keep elbows supported.
- Turn off the engine when appropriate. Engine vibration can soften long-lens images, but follow the guide’s instructions and never compromise safety.
- Leave space around the subject. Tight framing can cut feet, horns or trunks when the animal moves.
- Watch the background. A small vehicle movement can separate the subject from a distracting branch.
- Do not change lenses in blowing dust. One versatile lens reduces sensor-cleaning problems.
Keep the Etosha safari camera lens attached and ready before reaching a waterhole. Wildlife events can be brief, and unpacking equipment after arrival creates noise and missed frames.
What about phones and compact cameras?
A recent phone can make excellent wide photographs of landscapes, camps and close large animals. Digital zoom quickly reduces quality, so avoid judging the trip by whether every distant subject fills the frame. Bridge cameras offer much greater optical reach without separate lenses, although small sensors may struggle in low light.
The best camera is the one you can operate without blocking another passenger’s view or delaying the group. Wildlife welfare and park rules matter more than any image.
A compact bridge camera can therefore be a sensible Etosha safari camera lens solution for travellers who prefer one integrated system.
Etosha safari camera lens FAQs
Is 300mm enough for Etosha?
It can be, especially on a crop-sensor camera and for larger animals. As an Etosha safari camera lens, 300mm is a useful minimum rather than a guarantee. Birds and distant predators often benefit from more reach, but technique and air quality limit detail too. Test the Etosha safari camera lens at home so framing feels automatic.
Should I rent a lens?
Renting can make sense for an occasional safari. Collect it early enough to learn the controls, check insurance terms and practise supporting its weight.
Do I need a teleconverter?
A compatible teleconverter adds reach but reduces light and may slow autofocus. Test the exact camera-lens combination before travel rather than discovering the trade-off in the park.
Can I use a tripod?
A full tripod is usually awkward inside a vehicle. A beanbag or compact support is often more practical. Never leave the vehicle except in places where it is explicitly permitted.
Which lens is best for birds?
Bird-focused travellers usually benefit from 400–600mm equivalent reach and fast autofocus. Balance that against weight and the need to frame larger animals at close range.
Choose an Etosha safari camera lens you will actually use
A manageable telephoto zoom is the strongest Etosha safari camera lens solution for most travellers. Pair your Etosha safari camera lens with a patient route, realistic expectations and respectful vehicle positioning. Read our Etosha safari guide, explore the best-known waterholes, and compare stays that keep your photography days unhurried.
For ethical wildlife-photography principles that apply beyond Etosha, review the guidance from Nature TTL and always follow current park instructions.
Final lens check: mount the Etosha safari camera lens before the first drive, confirm stabilisation and autofocus settings, and keep the Etosha safari camera lens supported when the vehicle is stationary. Protect the Etosha safari camera lens from dust, avoid unnecessary lens changes, and leave room in the frame for movement. A familiar Etosha safari camera lens will usually outperform a heavier option you have barely practised with. Above all, use the Etosha safari camera lens without pressuring wildlife or blocking another traveller’s view.